
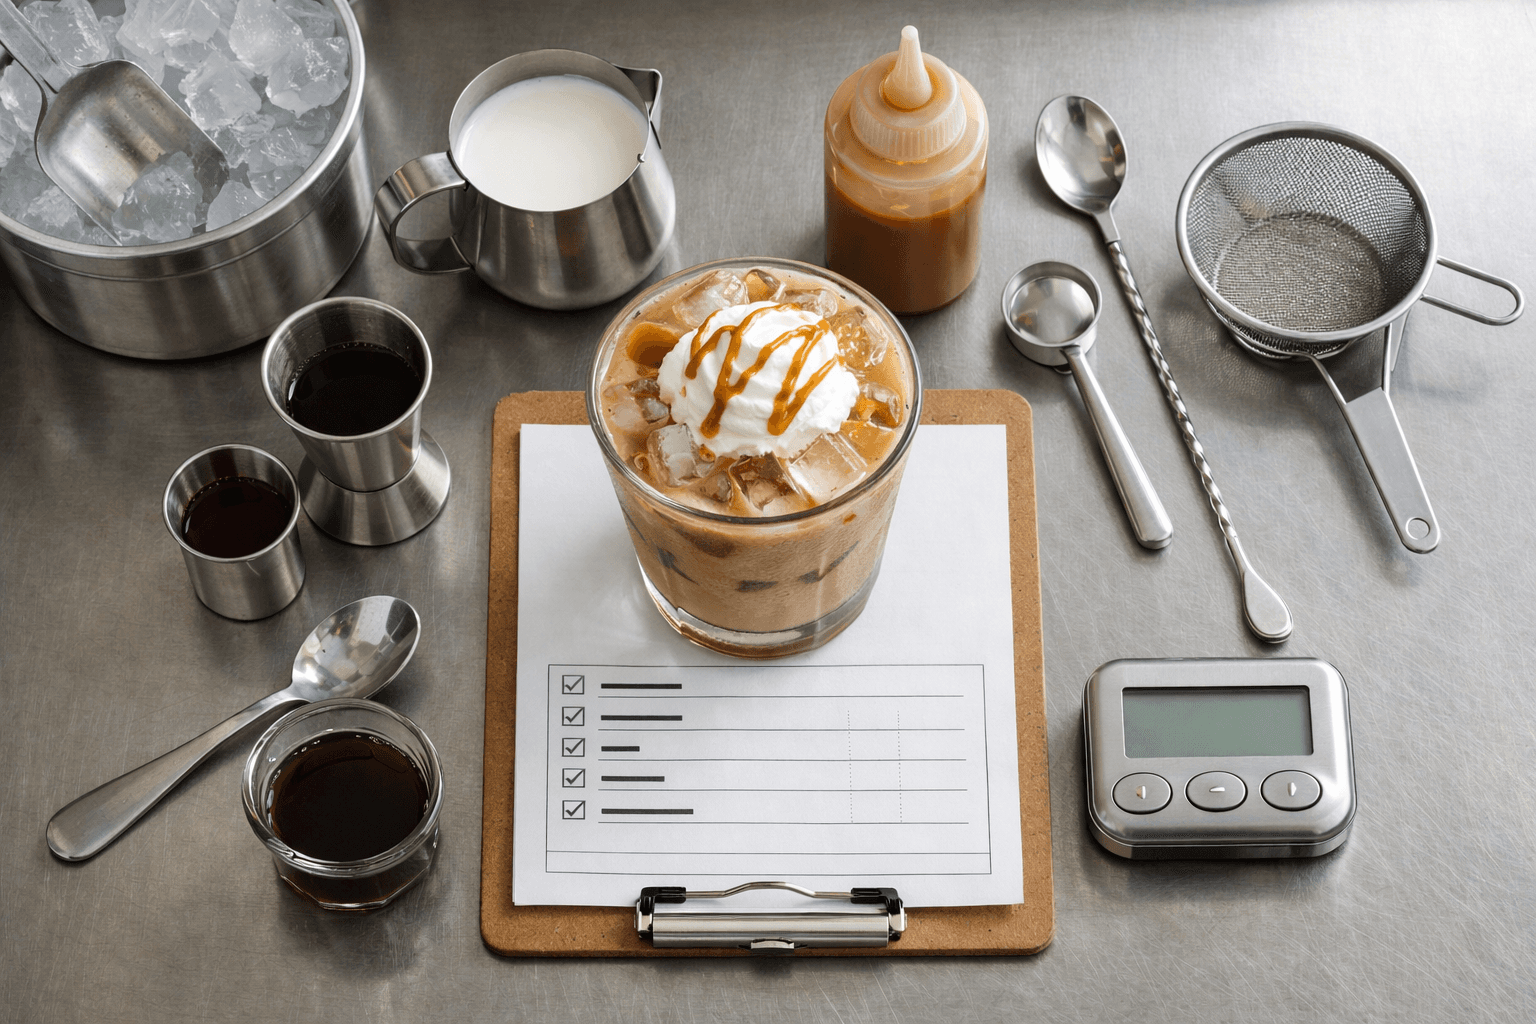
A correctly made drink may still not be ready
The quantities are correct, the colour looks right and the garnish is in the right place. However, if the barista misses an adjustment request, picks up the wrong tool or fails to check the finished drink before handing it over, the drink may still need to be remade.
That is why, the preparation process for cold drinks should not end with pouring. Between receiving the order and handing over the drink, there should be brief checkpoints to confirm three things: the correct recipe is being followed, the preparation area is ready and the finished drink matches the order requirements.
The framework below does not replace the recipe card or the counter’s separate cleaning procedures. Its role is to show exactly where the barista needs to pause, what to look at and which document to use for cross-checking.
Three checkpoints following the workflow
If all checks are left until the end, a discrepancy that arose when the order was read may already be in the drink. A more practical approach is to place each checkpoint at the stage where the relevant information or action arises.
- Before preparation: confirm the drink, serving specification, adjustment requests, ingredients and recipe to be used.
- During preparation: observe the work area, choose the correct tools and follow the recipe sequence.
- Before handover: compare the actual drink with the order requirements and the internal standard for the drink.
This is a general operating framework, not a recipe to be applied identically to every drink. The manager can place the checklist next to the order slip or the documents in the preparation guide, then add specific criteria for each product group.
First checkpoint: cross-check the order requirements and recipe
The starting point is not taking out the ice or switching on the machine. The barista needs to know exactly which drink they are about to make, which serving specification applies and whether there are any adjustment requests. If the information is unclear, it is better to confirm it before taking out the ingredients than to guess based on habit.
A barista job description document from Breville Việt Nam states the requirement to prepare drinks according to the standard recipe to control flavour, strength, colour and food safety. The document also places preparation, measuring, shaking and pouring in a direct relationship with the recipe.
How should the recipe card be read?
Rather than quickly glancing over the entire card, follow a consistent reading path. This helps the person carrying out the task avoid stopping at the ingredient names and forgetting to check the quantities or corresponding steps.
- Confirm the name of the drink and the serving specification ordered.
- Read the full ingredient list before starting.
- Cross-check the quantities against the measuring tools at the counter.
- Check the sequence for preparation, combining, shaking or stirring, pouring and finishing.
- Keep the adjustment information beside the recipe until the drink is handed over.
The recipe card should serve as the single reference point. Memory can support speed, but should not become the only recipe, especially when the barista has to switch continually between different drinks.
Can the garnish fix a drink made to the wrong recipe?
No. An eye-catching colour, a generous topping or neat presentation does not prove that the base is correct. If the wrong ingredient is discovered, an order request has been missed or the quantity used cannot be confirmed, the barista needs to stop and handle the issue in accordance with the counter’s procedures.
Finishing only completes a correct drink; it does not turn an incorrect drink into a correct one.

Second checkpoint: observe the preparation area and tools
Food safety is not confined to a document displayed on the wall. According to the World Health Organization, it is a shared responsibility; consumers and food handlers both play important roles in preventing foodborne illness. The organisation has developed “Five Keys to Safer Food” to guide safe food-handling behaviour.
Within the preparation area, the documents from Breville Việt Nam require the work area to be kept clean and tidy, and equipment to be cleaned according to the correct procedure. Observation should follow the workflow rather than being left entirely until the end of the shift.
What should be checked at a counter with many items?
The barista does not need to scan every corner of the counter before each drink. Focus on the points that are about to come into contact with or directly take part in making the drink:
- The surface being used to prepare and finish the drink.
- Tools for measuring ingredients.
- Tools for shaking, stirring or combining.
- The glass and serving items specified for the drink.
At each point, the person carrying out the task needs to confirm that the area is clean and tidy enough to continue; the tools have been cleaned according to the counter’s procedure; the items have not been mixed up with those just used for another drink; and the serving glass matches the stated specification.
If this cannot be answered with confidence, it is better to stop at that point. Continuing to prepare the drink and remembering to fix it later only forces the person to keep one more task in mind while the counter is operating.
Does the checklist replace the cleaning procedure?
No. The checklist only reminds the barista to confirm that the area and tools are ready. How each piece of equipment is cleaned, how often it is cleaned, which chemicals may be used and how incidents are handled must still follow the separate procedure for the operation.
Third checkpoint: check the finished drink before handover
The final stage is not the time to add details on a whim. It is the moment to compare the actual drink with the two established reference points: the order request and the recipe sheet. Colour, condition and finishing should be assessed within the standards for that particular item, rather than relying on the general impression that the glass “looks alright”.
What needs to be checked in the finished product?
- Correct item: the item name and serving specification match the original request.
- Correct adjustments: the confirmed changes have not been overlooked.
- Correct recipe indicators: the colour and condition of the finished product match the item’s internal standards.
- Correct serving glass: the type of glass matches the confirmed specification.
- Evidence-based finishing: any added ingredients or decoration are included in the recipe or confirmed requirements.
For gelato-based drinks, the checking logic does not change: verify the correct ingredients, follow the item’s recipe and serve it only when the finished product meets internal standards. As this article is published on Baby Boss’s channel, anyone developing this range of items can use the Gelato knowledge section as an additional reference before preparing a separate operating sheet for the counter.
The key point to keep clear is that product knowledge materials do not replace operating recipes. Each item still needs its usage quantities, preparation sequence, serving specification and finished-product indicators recorded clearly.
A checklist for immediate use at the counter
The table below can be printed as a short checklist and placed beside the recipe-reading area. Each line should only be confirmed after the preparer has actually checked it, rather than being ticked from memory after the item has been served.

| Stage | Content | Confirmation question |
|---|---|---|
| Before preparation | Order request | Have I read the full item name, specification and adjustment requirements? |
| Before preparation | Recipe sheet | Am I using the correct recipe and the correct measuring tools? |
| Before and during preparation | Work area | Is the work surface clean, tidy and ready? |
| During preparation | Equipment | Has the equipment been cleaned according to the procedure and is it being used for its intended purpose? |
| Before serving | Finished product | Does the glass match the order request and the recipe’s standard indicators? |
| Before serving | Finishing | Are all added ingredients included in the recipe or the confirmed requirements? |
When the counter’s recipe, menu or hygiene procedure changes, this table should also be reviewed. If the old sheet and the materials currently in use no longer match, staff will not know which one is the official reference point.
Why can a checklist lose its effectiveness?
Using it only to train new staff
If the checklist is intended only for new staff, each experienced employee may gradually develop their own way of checking. The sheet should be linked to the item and the workstation, not dependent on the confidence level of the person carrying out the task.
Ticking everything at the end of the shift
The purpose of checking is to identify discrepancies before the drink is served. Recording them afterwards is useful for monitoring, but it no longer helps deal with the finished product just made.
Using memory instead of the recipe sheet
Knowing the recipe by heart does not remove the need to check it, especially when the item has adjustments or the counter must handle several consecutive requests. Materials at the workstation help everyone work to the same standard.
Treating hygiene as an end-of-day task
The area and equipment need to be observed during the workflow itself. If an item is not ready, the appropriate stopping point is before it is used in the drink, not after the finished product is complete.
How can the process be introduced into the shift without creating extra confusion?
A checklist that is too long is easy to skim; a reminder that is too general does not indicate what needs to be checked. You can start with three fixed headings: recipe, hygiene, finished product. The manager can then add criteria specific to each item group.
During the first few practice sessions, the trainer can ask staff to read each point before confirming it. Once the procedure has stabilised, the table becomes a quick reference point rather than a lengthy explanation.
For counters with many items or workstations, the materials in the F&B business guide section can help connect the checklist for each glass with the general operating procedure. However the materials are organised, the version placed at the counter must match the recipe and procedure currently in use.
What matters is not the number of boxes ticked. A useful cold-drink preparation process must tell the person carrying it out where to stop, what to look at and which standard to compare against. When these three questions have clear answers, the final check before handing over the cup truly becomes a control point.
References
Partner with Baby Boss
Explore products and Baby Boss services, or call 1900998880.
Shopee · TikTok · Instagram · Threads · YouTube · LinkedIn · Zalo OA · Pinterest
Comments